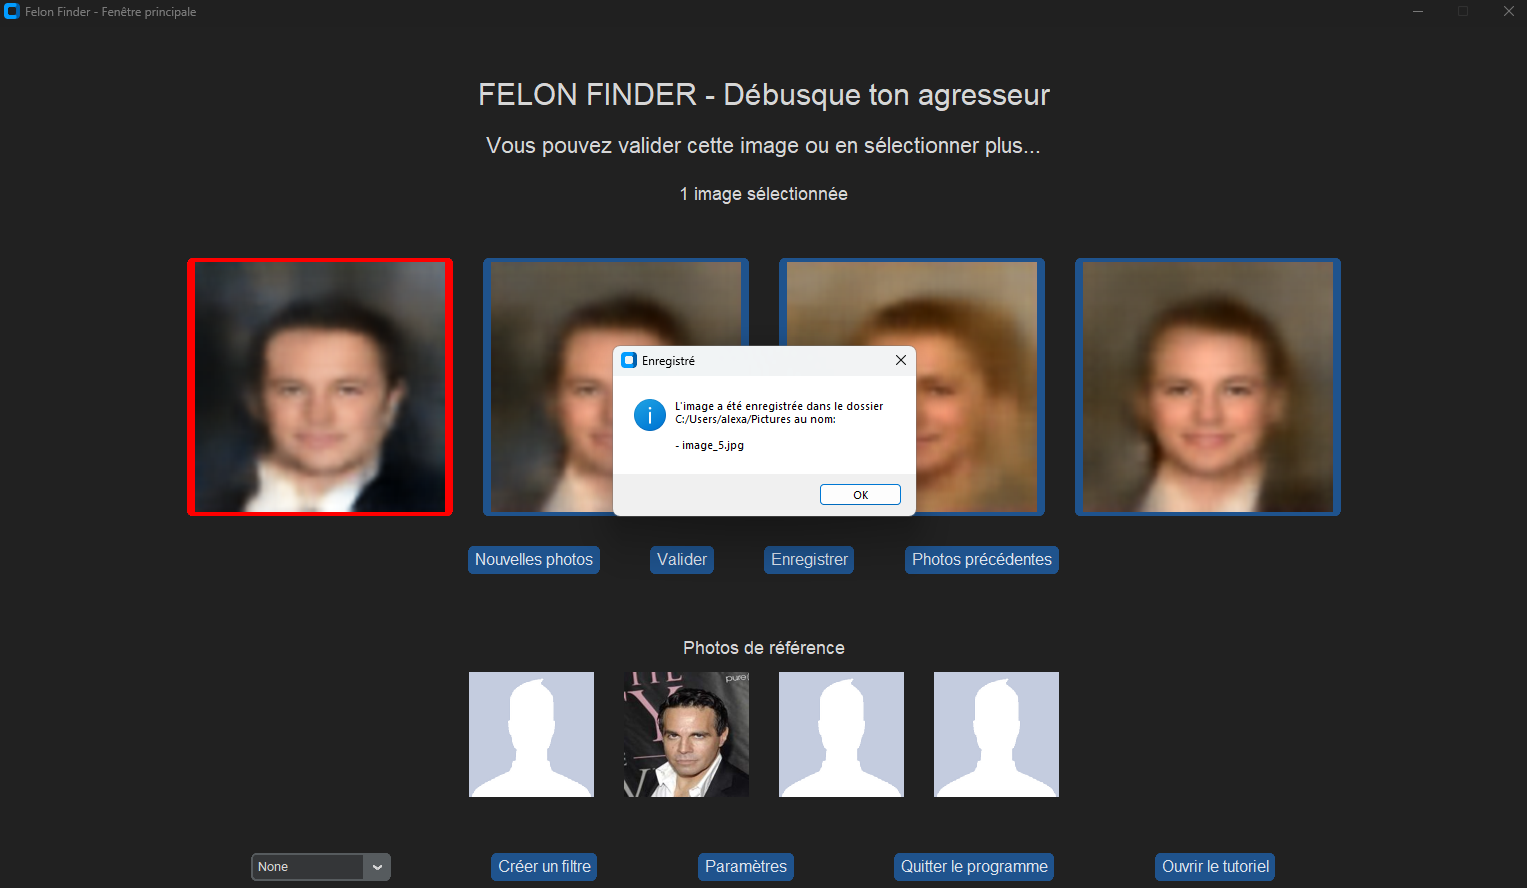
Using the software

General use

Felon Finder aims to facilitate the recognition of a potential assailant by producing composite sketches.
There are various ways to use it.

Selecting images and letting the algorithm do its magic

The first intent of Felon Finder is to let you find a composite sketch of a potential assailant according to what you remember.

The most important function of Felon Finder is its algorithm: you only have to get random images until you get to someone that looks like the potential assailant. Once you get there, you can select one or more pictures that correpond to this person and validate your choice.
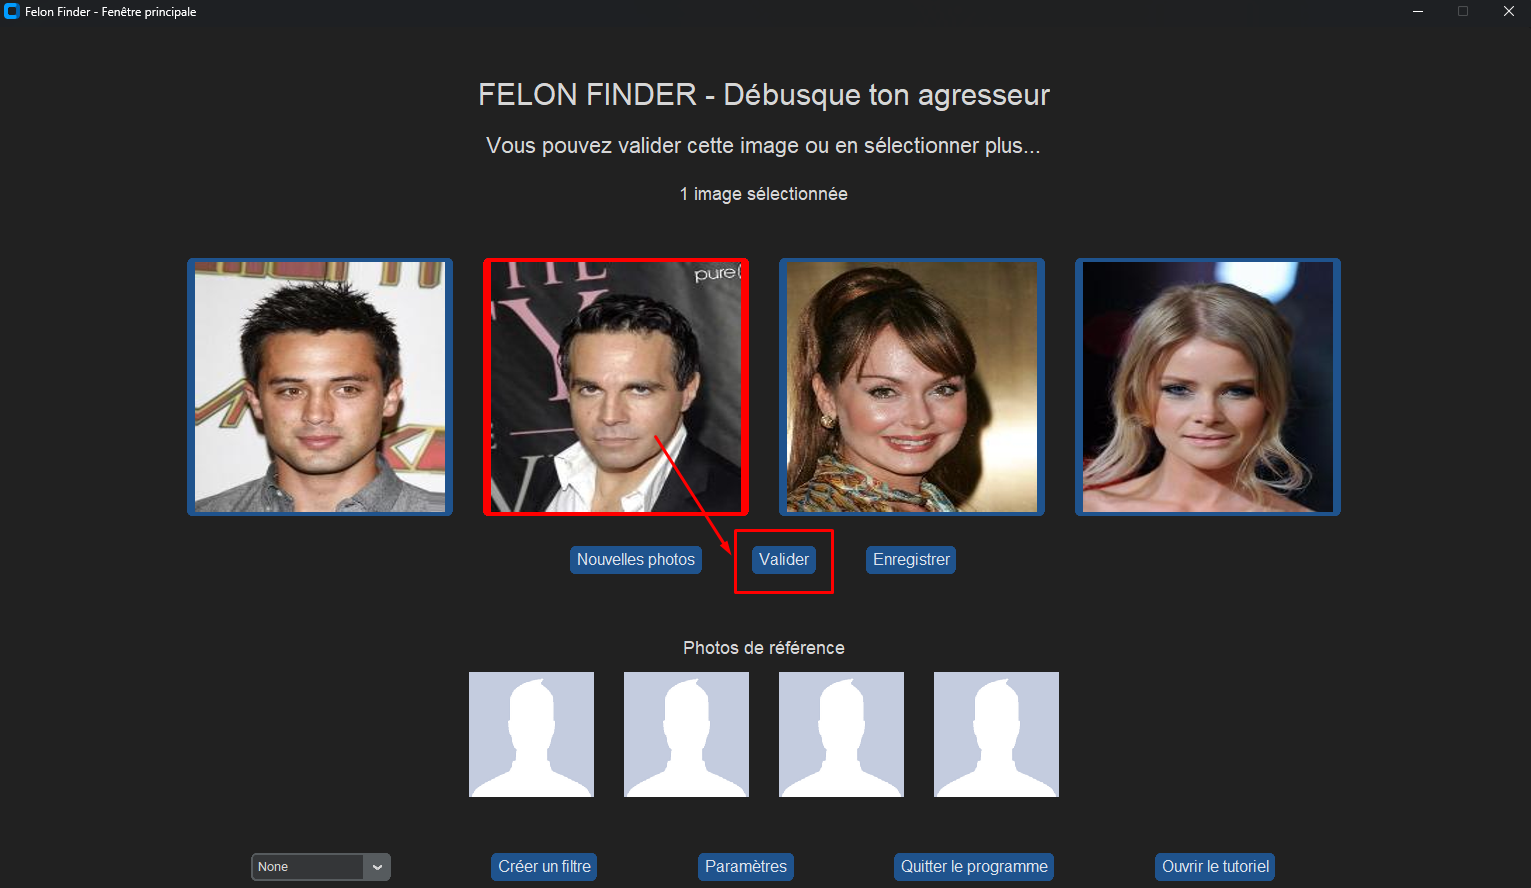
_images/select_picture.png

Not satisfied yet ? You can use the button “Rafraîchir” to keep reusing the algorithm on the same reference picture, in case the randomness did not please you enough.
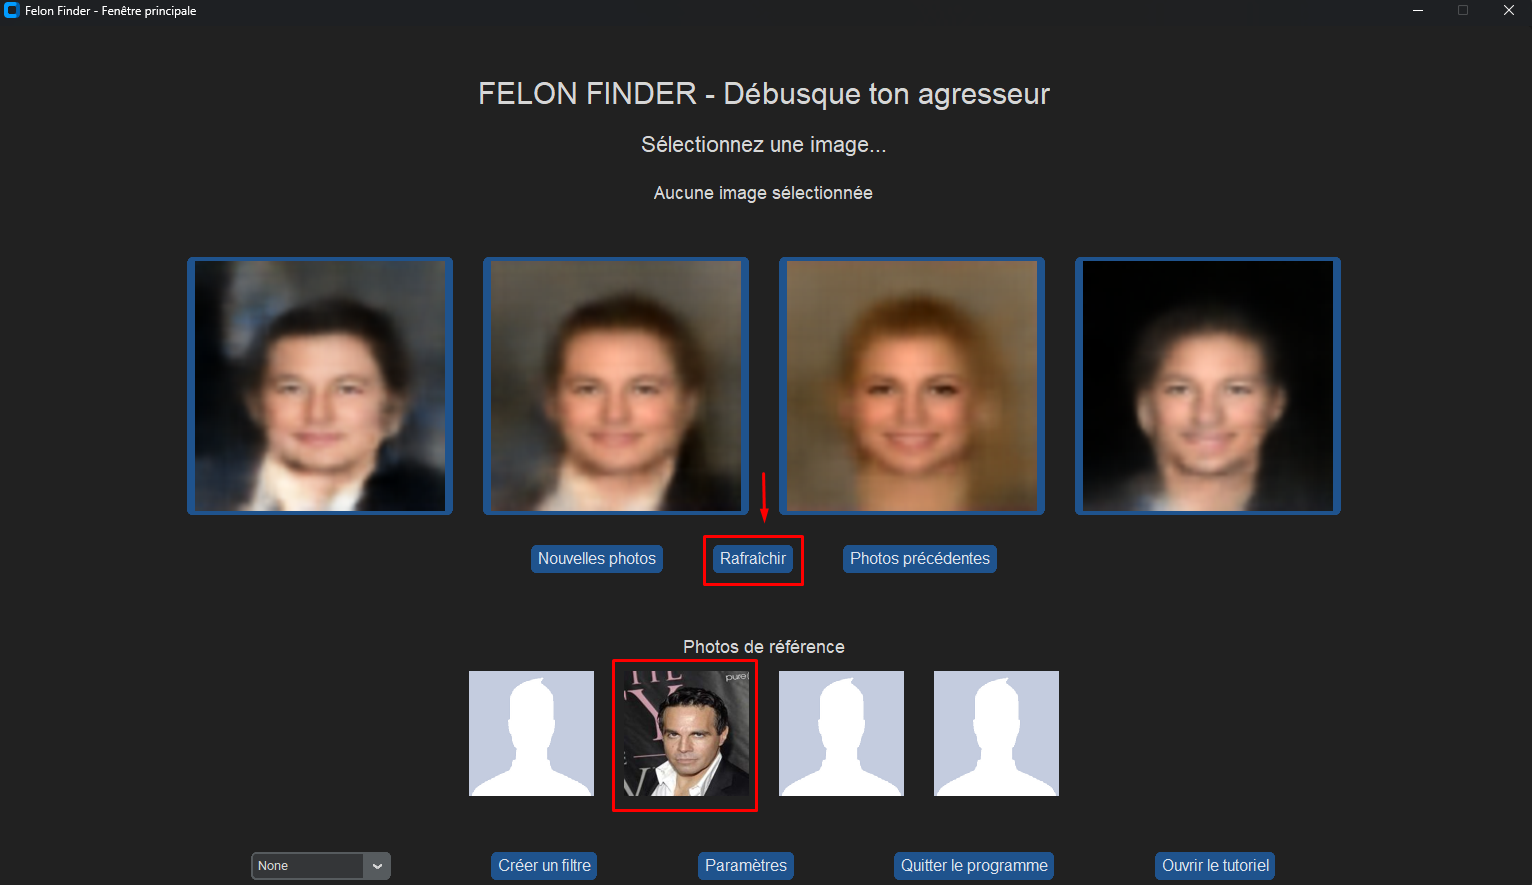
_images/refresh_pictures.png

Saving one or more images

Once you are happy with one or more of the showed pictures, you can save them in a path you choose yourself (everything is made simple through the software, don’t worry !).
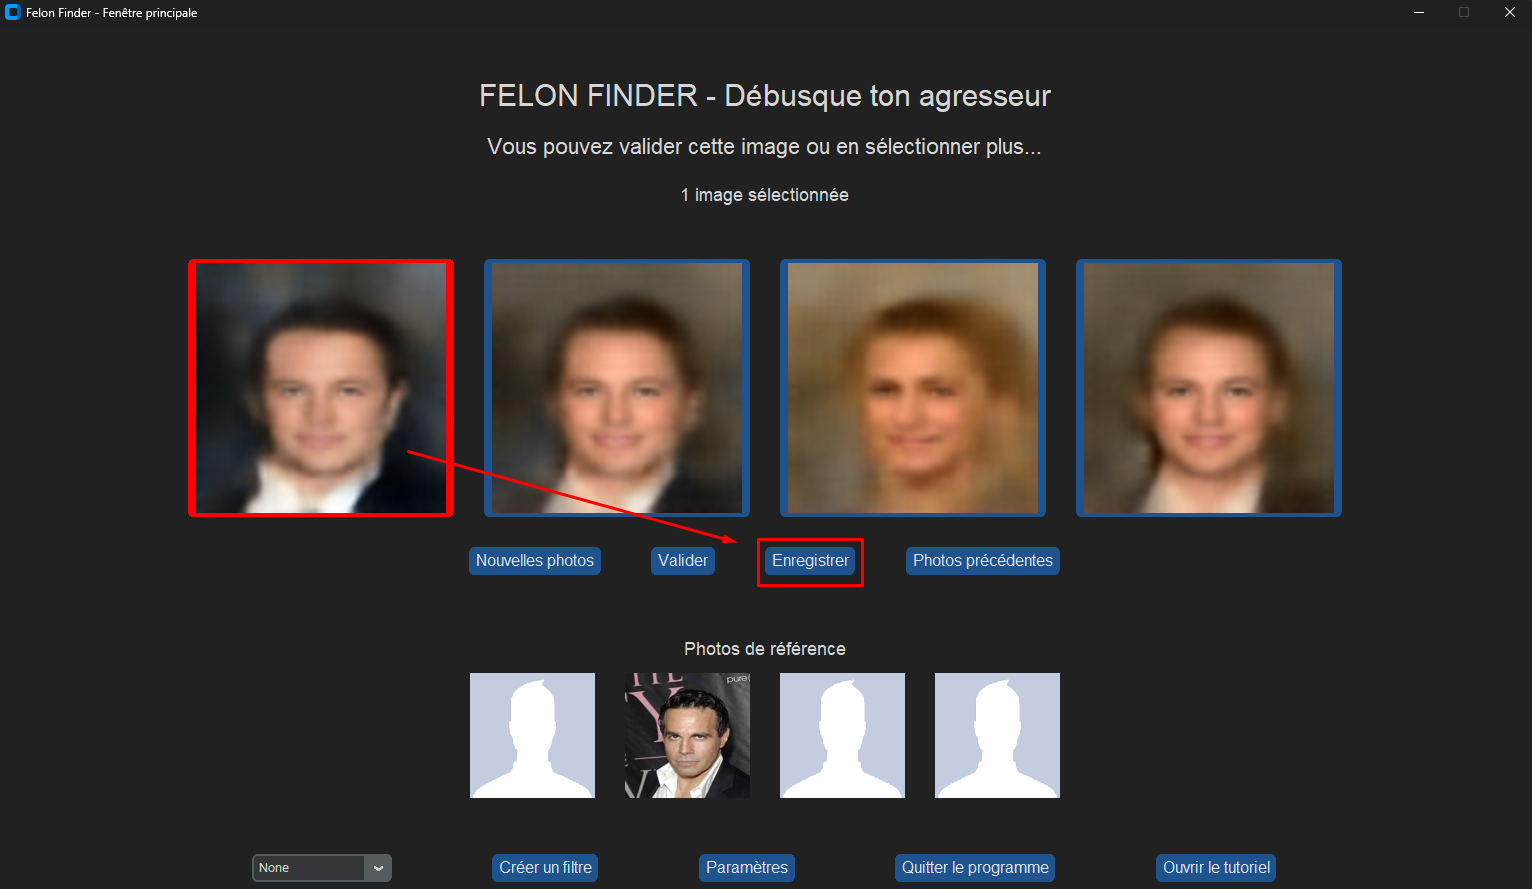
_images/save_picture_1.png

Then :

_images/save_picture_2.png

Note that you always can change the path where your images are saved through the “Paramètres” menu, doing so :
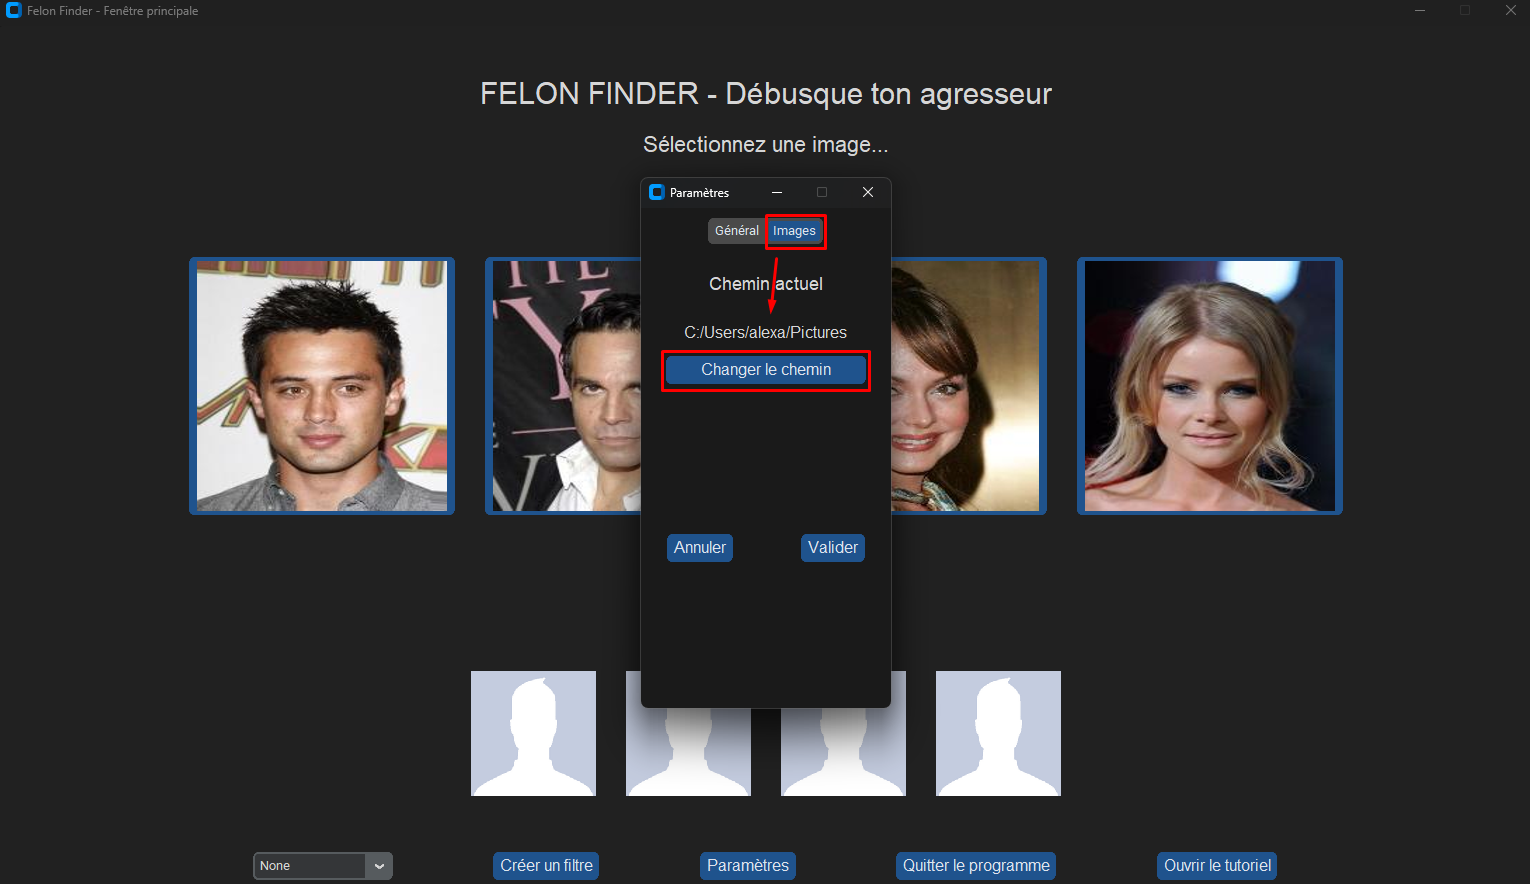
_images/change_path.png

Back-tracking

If you realize you went to fast through the pictures, you always can come back to the last you saw. You can do this with the “Photos précédentes” button.

_images/back_button.png

You can even come back to the very first pictures !
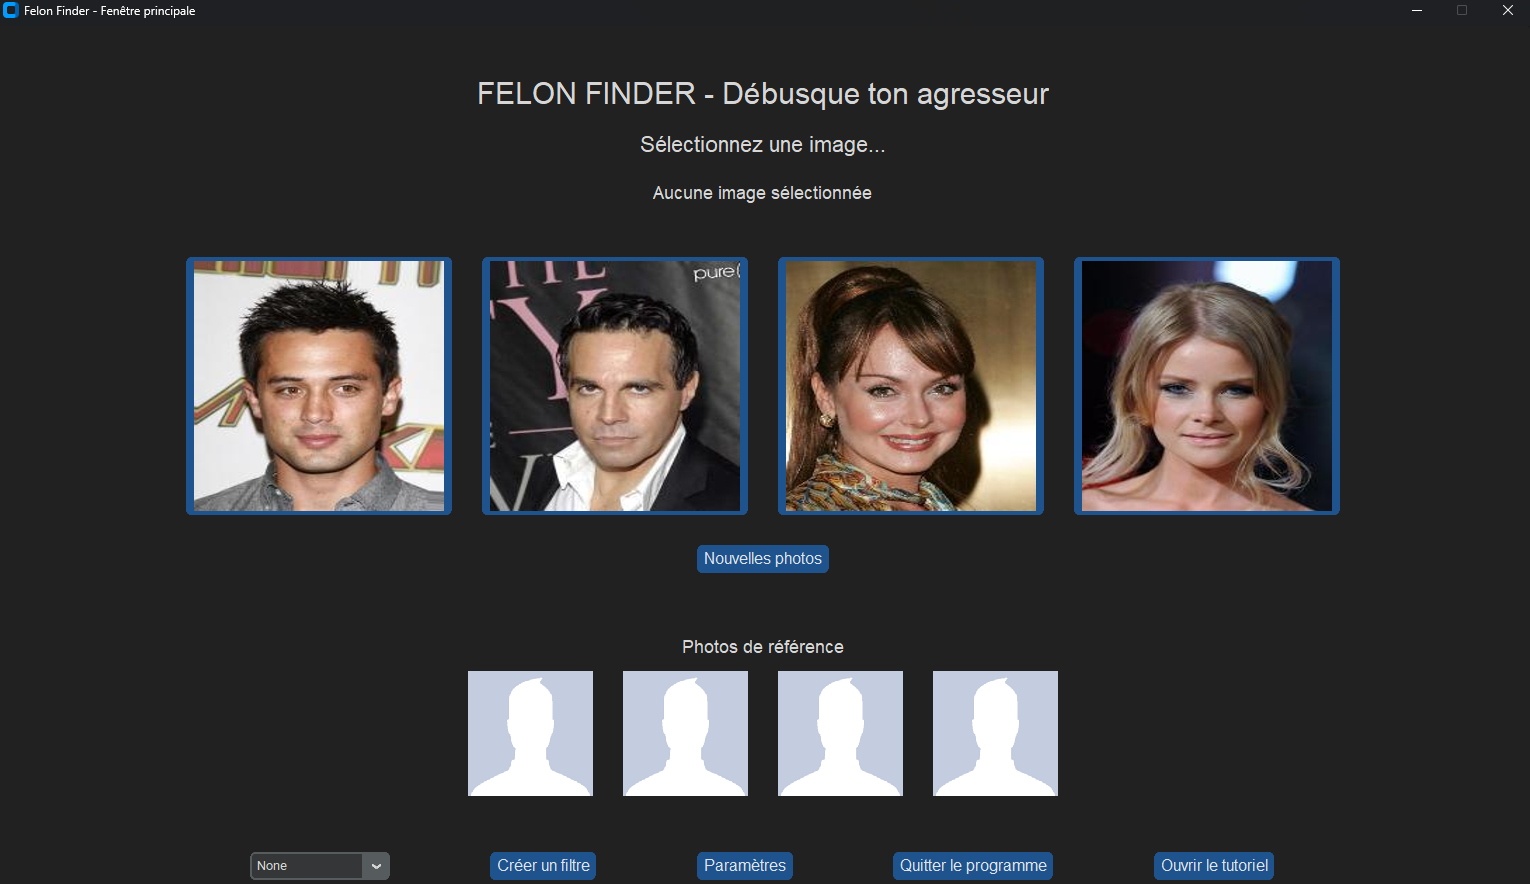
_images/back_to_beginning.png

Changing the parameters

Whether you want to tweak the parameters for fun, want to experiment with a higher variance for the algorithm, or want to switch between light and dark mode for the software, everything is possible in the options menu.
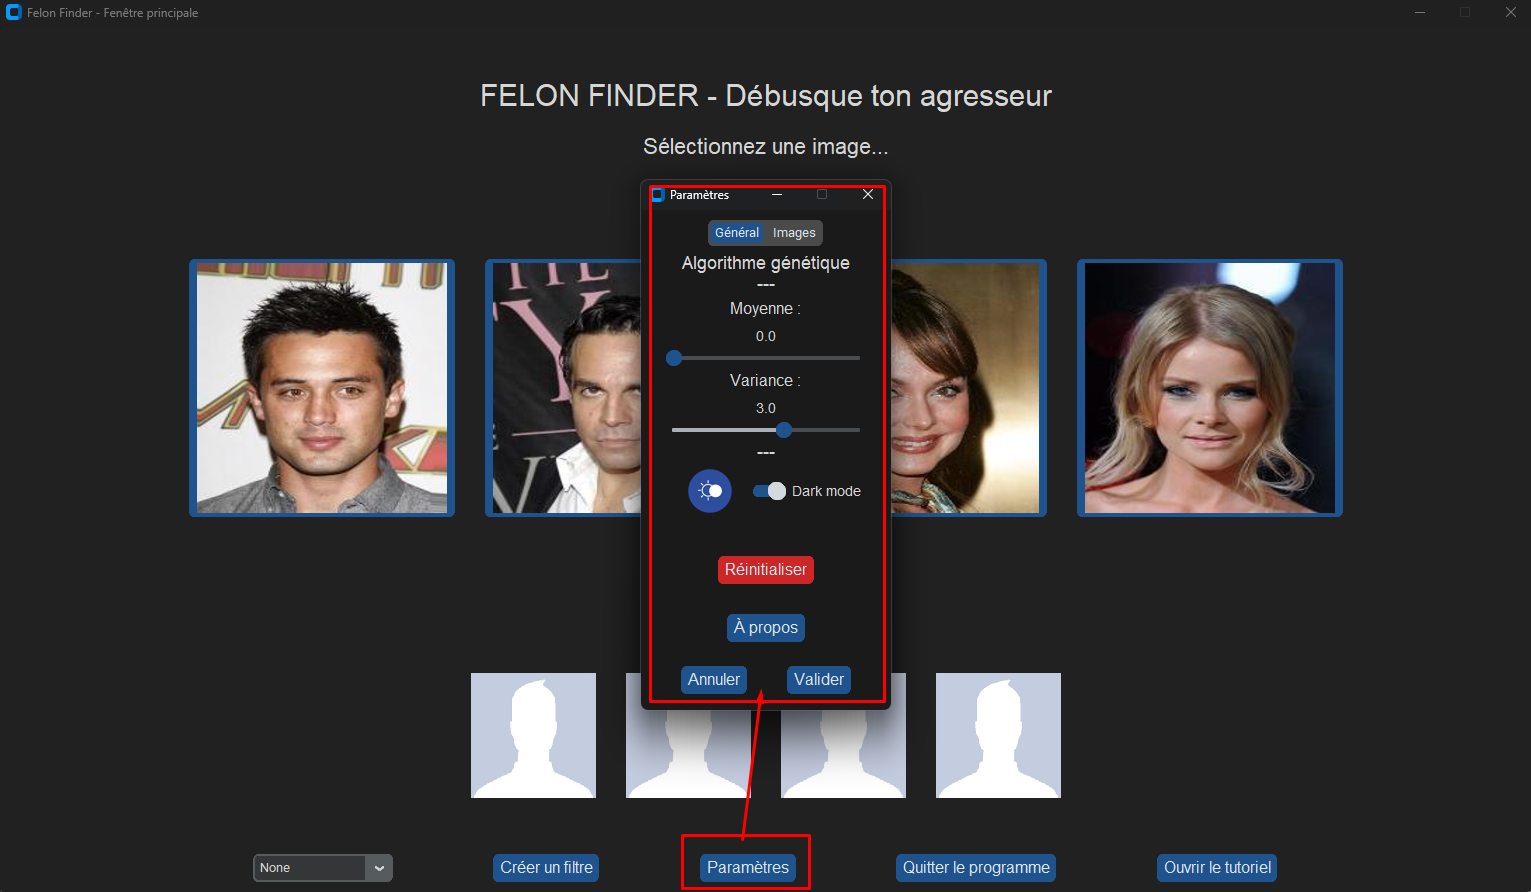
_images/options_menu.png

Using the “Réinitialiser” button permits going back to the default parameters anyway, so don’t be afraid to try a higher mean or a lower variance !

Note

Changing the parameters between two validations also works ! The algorithm will always apply the last parameters validated by the user.

Advanced feature: “Filtre”

Felon Finder also has another feature : filters (called “Filtre”s in the software).

What is a “Filtre” and why use one ?

When the user has generated a face deemed satisfying with Felon Finder, it is possible to add details to match the image given by the application to the face the user is looking for.
To do such a thing, the “Filtre” functionality comes in handy : a “Filtre” acts like a filter and is applied on top of the face to modify a specific detail without changing the rest of its characteristics. What detail is modified depends on the way the “Filtre” is constructed.
Here are some illustrations of this functionality, with the pre-saved “Filtre”s already available in Felon Finder :

First example : the sourire “Filtre”

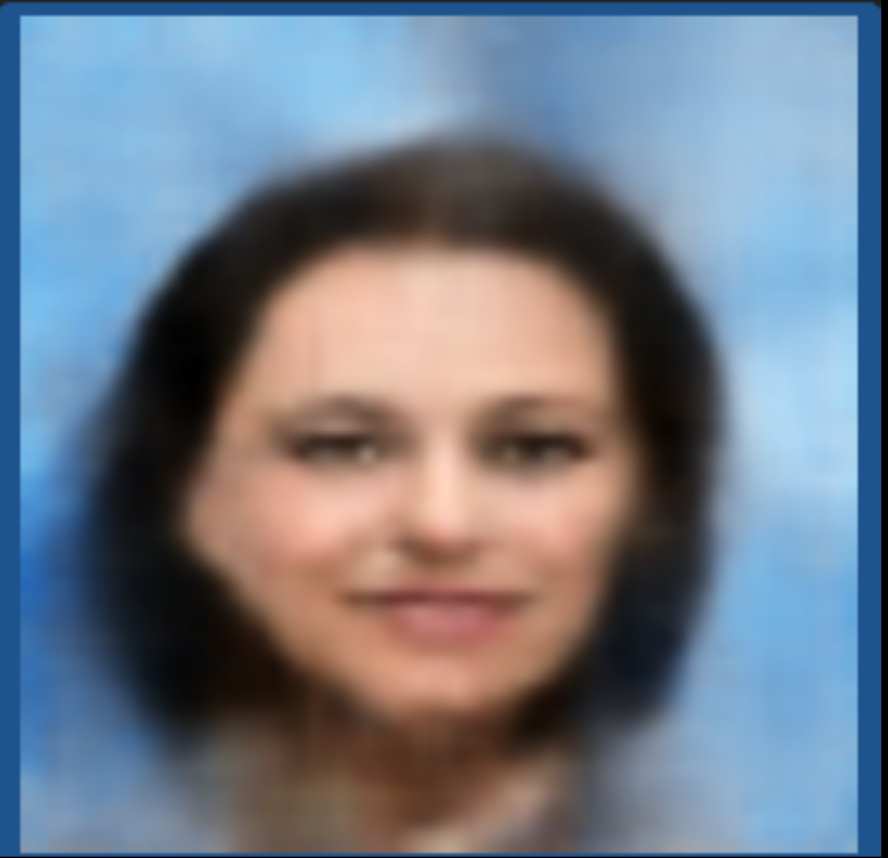
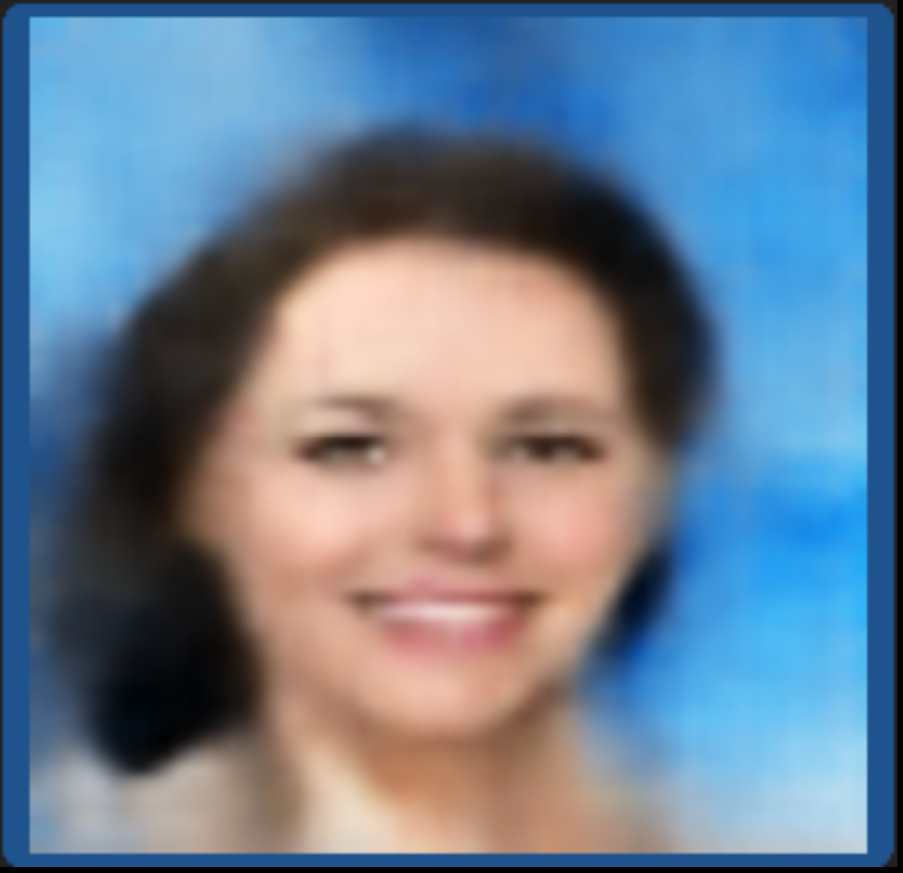
The sourire “Filtre” intends to add a smile on the generated faces.
_images/before_smile.jpg

Fig 1 - Before using the filter

_images/after_smile.jpg

Fig 2. After using the filter

Second example : the longs cheveux bruns “Filtre”
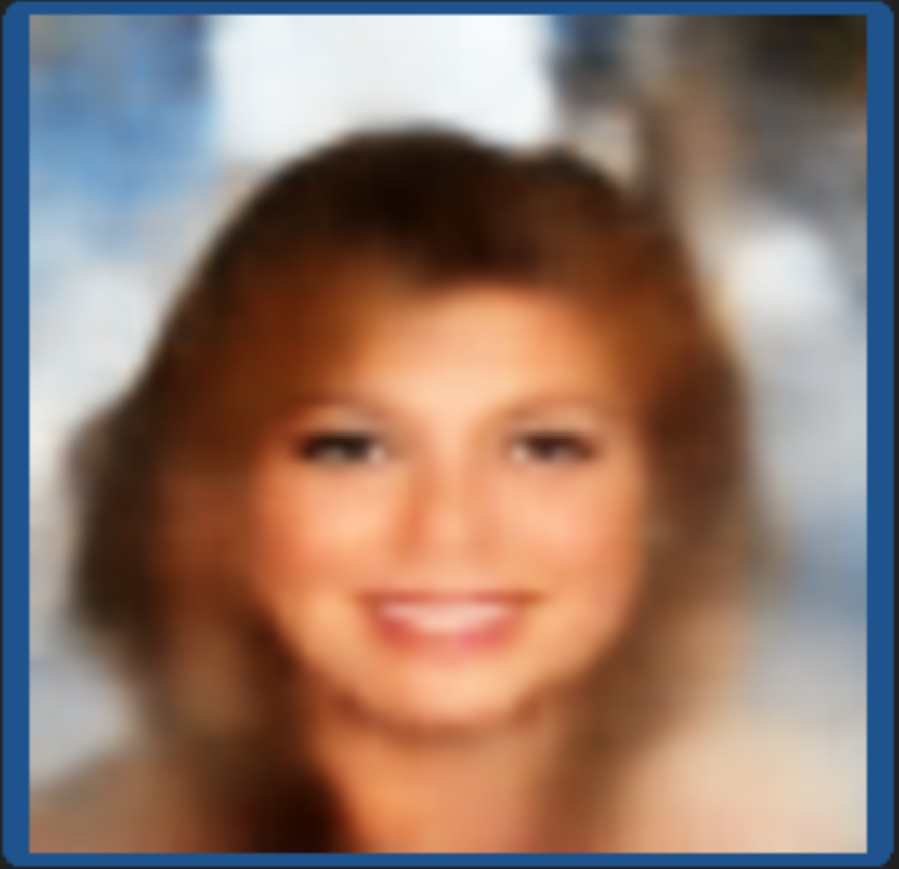
The longs cheveux bruns “Filtre” intends to add a long brown hair to the generated profiles.
_images/before_long_brown_hair.jpg

Fig 1 - Before using the filter

_images/after_long_brown_hair.jpg

Fig 2. After using the filter

How to get to create your own “Filtre” ?

The user is the one constructing a “Filtre” and it allows close-to-unlimited customisation.
To start, the user has to define what the “Filtre” has to modify. They may want to add a short blonde hair, add sunglasses, give more masculine traits to the faces… All of those are examples of possibilities given by the “Filtre”.
Then, they can click on the “Créer un filtre” button which will prompt the filter creation menu.
_images/creer_un_filtre_1.png _images/creer_un_filtre_2.png
After clicking on the “Créer un filtre” button, the user can choose the number of steps they want to create the “Filtre” : between 1 and 10.
The more steps the user adds to the construction, the more fine-tuned the filter will be, but a “Filtre” with only 3 steps will also be very powerful if well constructed.

In-depth “Filtre” constructions steps
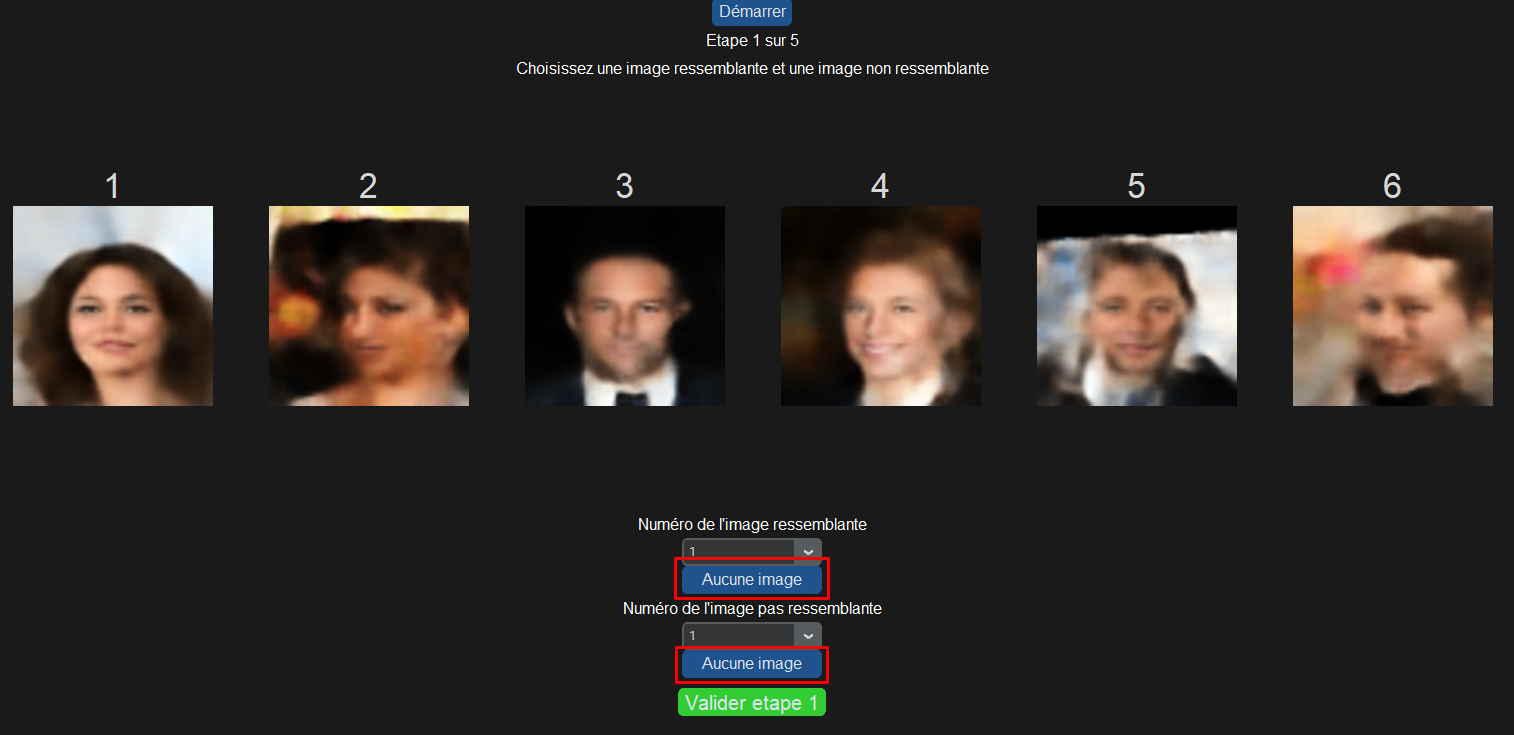
Suppose the user wants to create a “Filtre” that adds smiles.
In each step of the “Filtre” construction, the user will have to choose an image bearing the desired characteristic (“image ressemblante” button) and an image lacking the desired characteristic (“image non ressemblante” button).
In our example, this will be “image ressemblante” = a smiling face and “image non ressemblante” = a neutral / sad face.
The algorithm will make the “difference” between these two faces. The user’s choice of image is crucial because the algorithm has to understand with the following equation: “smiling face” - “neutral face” = “smile”.
To achieve this, we recommend selecting faces that differ only in the desired characteristic.
In our example, it’s wiser to choose: “image ressemblante” = a smiling blond woman AND “image non ressemblante” = a neutral blond woman, rather than “image ressemblante” = a smiling blond woman AND “image non ressemblante” = a sad old bald man.
If none of the images proposed by the application has the desired characteristic, it is always possible to reset the images using the “Aucune image” button until a satisfactory selection is found.
_images/filtre_aucune_image.png
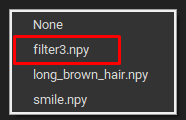
Simply exit the filter creation menu with the “Quitter” button, and choose the newly created “Filtre” in the dropbox at the bottom left of the screen. We haven’t created the filters management menu but feel free to give us your suggestions on the felon-finder repo !
_images/filtre_leave.png _images/filtre_created.png

Note

This feature might be inconsistent sometimes. You may have to enter and leave the “Filtre” menu once again to have your newly created filter shown in the list. The best option if that does not do is to restart the software.

How to apply a “Filtre” on the generated images ?
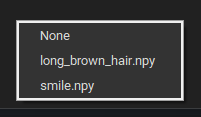
Select a “Filtre” in the dropbox at the bottom left of the screen and continue using Felon Finder as explained in the initial tutorial.
_images/filtre_presaved.png
To apply no “Filtre”, which is the default behavior of Felon Finder, click on “None”.
_images/filtre_none.png

Non-exhaustive list of questions

Does Felon Finder guarantee 100% accurate identification of an assailant ?

Felon Finder is an identification aid tool and cannot guarantee 100% accurate identification. However, it can greatly facilitate the identification process by providing detailed composite sketches based on your descriptions and memories.

How are the composite sketches produced ?

The images selected by the user are encoded using a variational autoencoder. Modifications inspired by genetic mutations and crossovers are then applied to the encoded images. After these modifications, the images are decoded and returned to the user.

I found my assailant !

If you have identified the perfect composite sketch of your assailant among the produced files, select their image, press the “Enregistrer” button, and let the authorities do the rest of the work.

Can I apply the modifications to more than one picture ?

Every aspect of Felon Finder is made to work with the amount of pictures you want, from 1 to 4. When you select 1, 2, or 4 pictures, the software uses them to the best extent. When you save 4 pictures, the 4 of them will be saved in your chosen folder. It is the same with filters.